So, the first step in making an i-cord is to whip out a chain from the last tutorial. Once you have a chain of your desired length, go ahead and flip the chain over to the backside where it looks a little bit like chain links or some kind of weird stitching. It may help you to remember that the front of the chain looks a bit like v's and the back of the chain looks a bit like dashes.
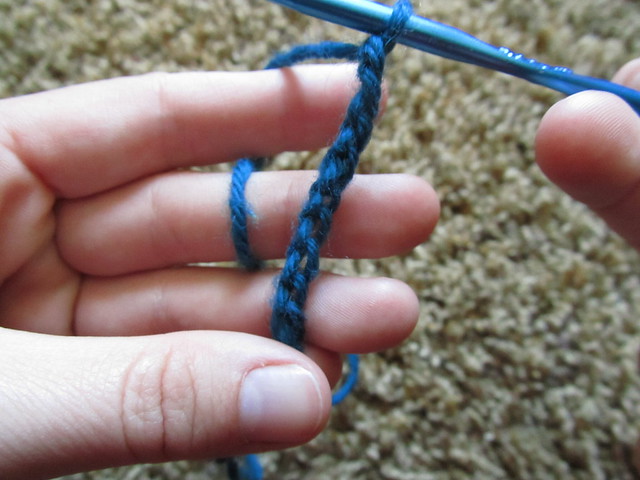
Now that you've found the back of your chain, you're going to put the hook into the first little dash that you can easily find. Trust me, the first one is a little bit tricky but the rest are sooooo much easier! It should look like this.

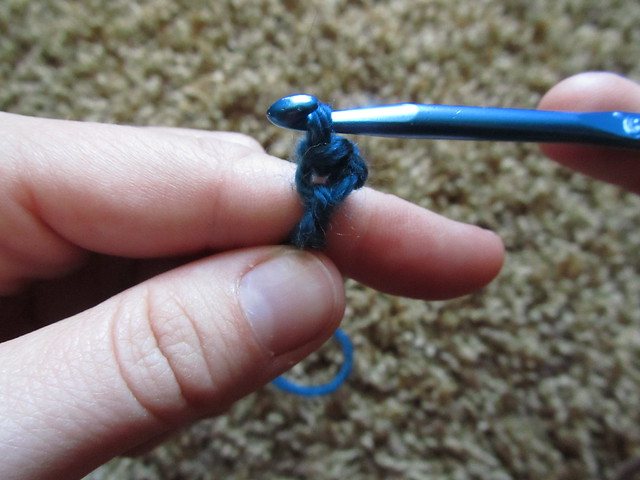
Go ahead and grab the working yarn that is attached to the ball with the crochet hook. Now you should have three little loops on your hook; one from the ball of yarn you just grabbed, the first dash in the back of the chain, and the very first loop that you had before.

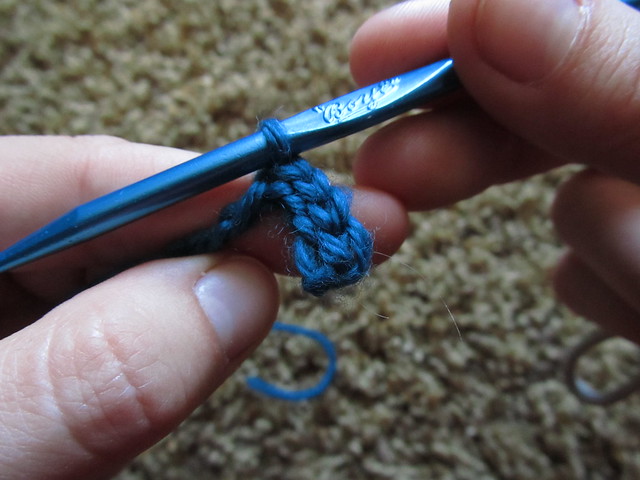
Now, gently pull the last loop on your hook through the other two loops on your hook. It will look a little something like this when you are done.
Now, all that's left to do is repeat that process with all the rest of the little dashes in your chain. It can be a little bit tedious but it is so rewarding! This little section is what the i-cord will look like when it's all finished.
Keep going all the way til you reach the end of your chain until there is only one loop left on your hook. Cut the yarn that is attached to the ball (the working yarn) with a little bit of room for leeway (I always give at least an inch or two, maybe more) and pull the cut yarn through that last loop on your hook. Mine is a baby i-cord for demonstration purposes but there are so many uses for an i-cord. You are basically making rope that is slightly stretchy and very strong.

At the end of the week, I'll show you what all the commotion is leading up to because it is a super fun project that I'm sure you're going to love!
No comments:
Post a Comment
I would love to hear comments! You can leave a comment as Anonymous but I would also love to know who you are and what you think of my blog!