I know you're probably thinking "Weird, I haven't seen plant hangers like these since the '90's!" Well, I'm here to tell you that they are awesome and they have the added benefit of creating more surfaces for my plants to rest on! Without further ado, here's how you make one...
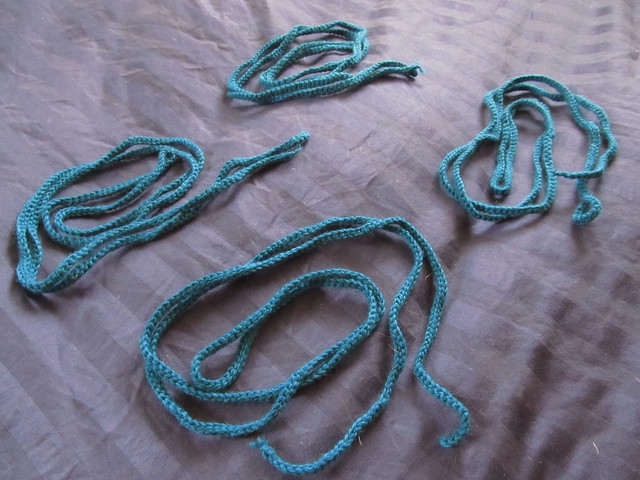
Start off with 4 icords of equal length. You want to make sure that you measure the chain that you make with some kind of ruler or soft tape measure so that all your icords come out the same length. I had the misfortune of making two of very different lengths because I forgot to compensate for the shrinkage that happens when you make an icord.
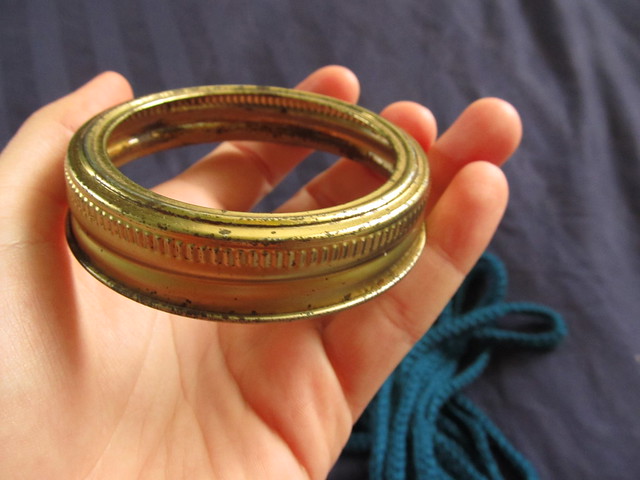
You'll also need some kind of sturdy round thing. Since I'm all about reusing what I already have, I took a ring off one of the jars of applesauce that I made a few weeks ago and repurposed it for this project.
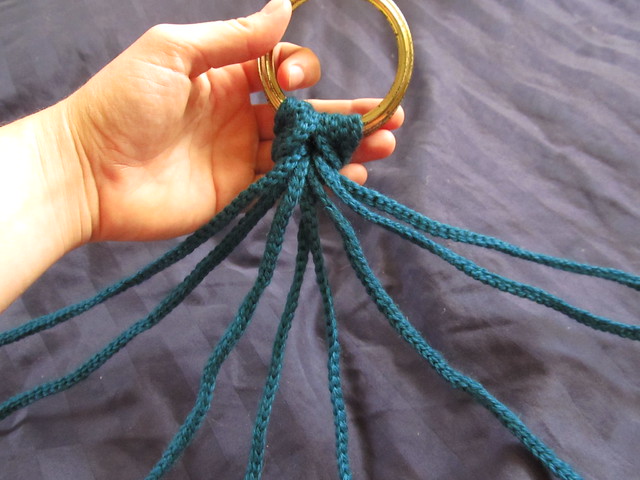
Next, you'll need to find the middle of your icords. When you find the middle, place the loops through your sturdy ring like so...
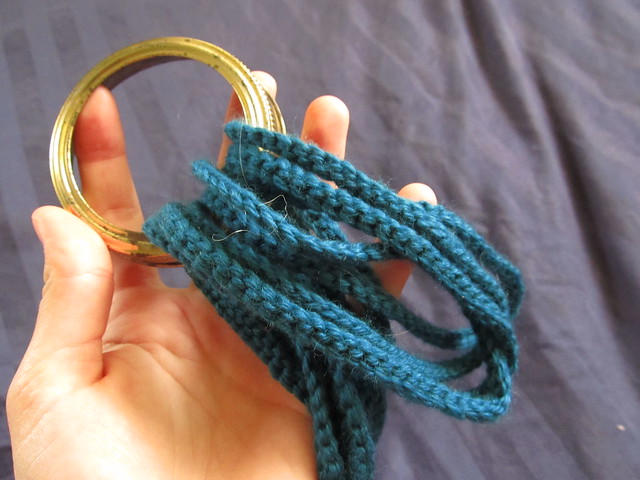
Now, stick the tails of the icords through that loop.

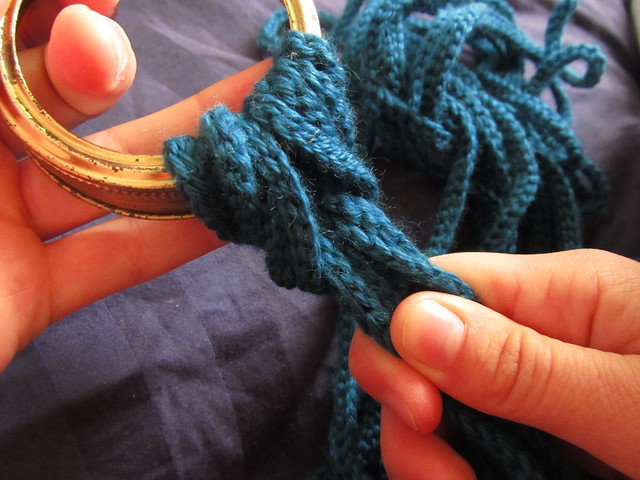
And pull it tight like so. Now, your plant will stay secured because there's no way a plant can rip through a metal jar ring.... knock on wood, I don't want anything crazy happening to me this week!
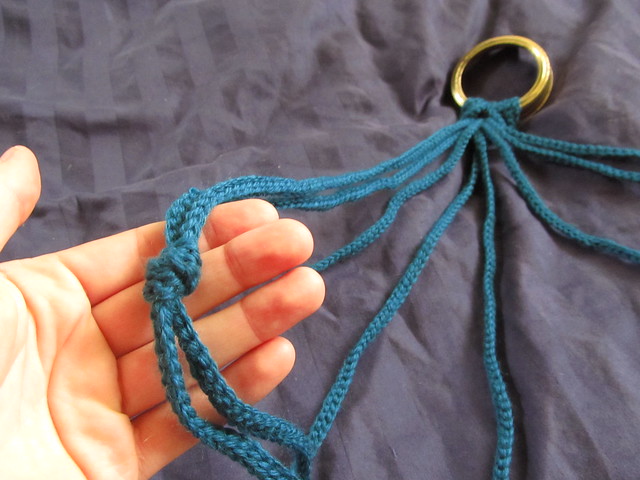
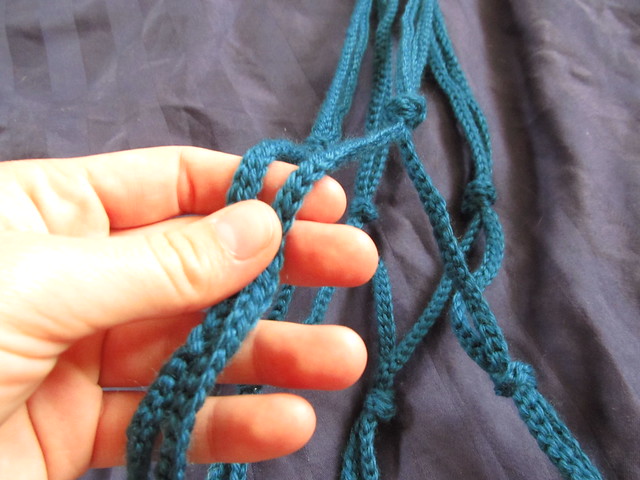
You'll probably want a good surface to work on like a bed or a table. Spread out the different strands of icord that come from the bottom of the ring.
What you want to do now is take the first two cords and tie a knot in them about a foot down from the ring at the top. If your knots are too high on the icord, you won't be able to fit your pot inside the hanger.
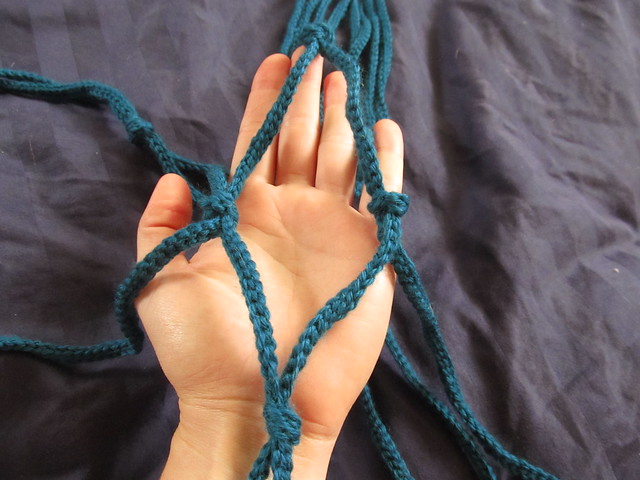
 Make knots in all of the strings like so. When you are done with the knotting, your hanger should look like this. Separate the cords so that opposite cords are next to each other.
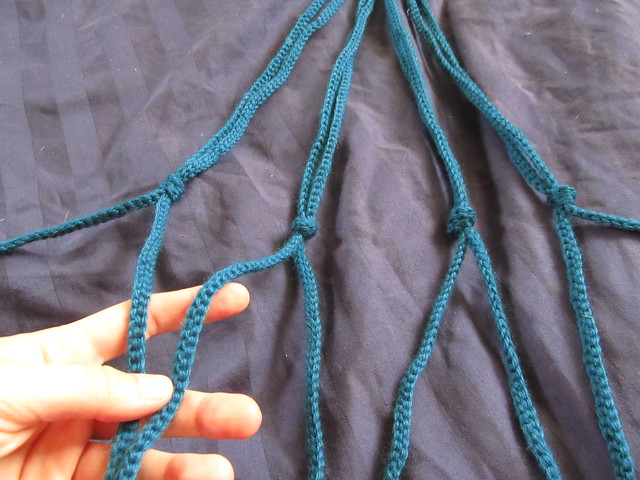
You might be able to guess the next step... make knots in each of the cords that are next to each other. I put my knots about 4 inches down from the top ones, but it's really up to you and how much cord you have.
Next, take the last two cords and tie a knot about the same height as your other knots. You may notice that my knots are about the same height and distance from the ring as the other knots on each level. This is important so that your plant hangs properly in its hanger. We don't want any uncomfortable plants now do we?!
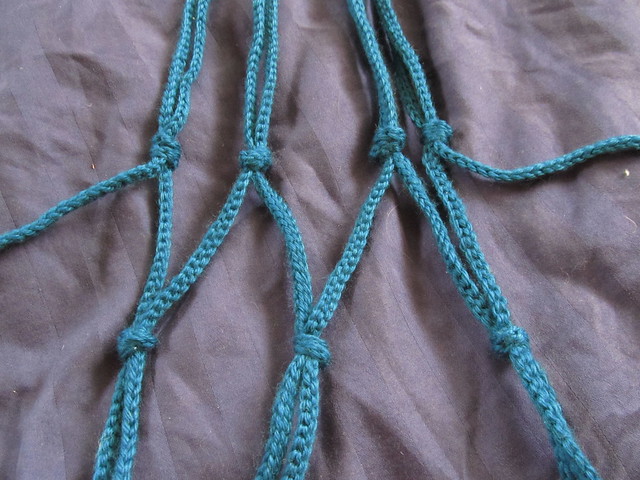
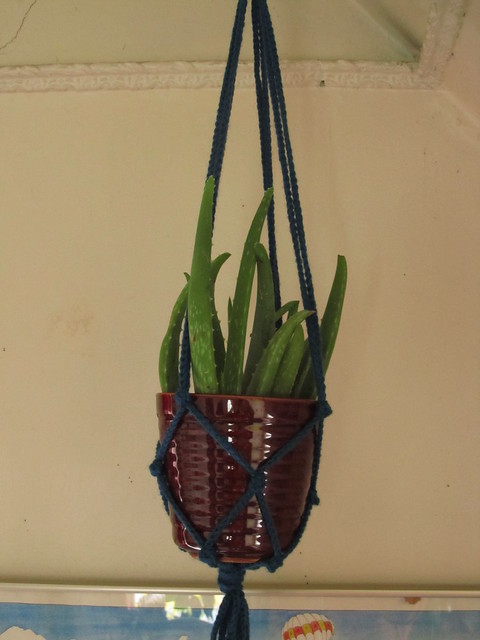
Now, I kind of jumped ahead of you and did a whole next row of knots, but it's the same principle as the first two rows. You'll just separate the strands and tie a knot, continuing to make knots until you have 4! You can keep separating strands and creating new knots until you run out of cord but it is important to at least have one diamond in your hanger... see the diamond? This ensures that the plant hangs securely and evenly on the hanger.
Once you've decided to be done making knots and separating strands, you'll want to gather up all the ends like so. It's okay if they are a little bit different lengths but they should be pretty close.
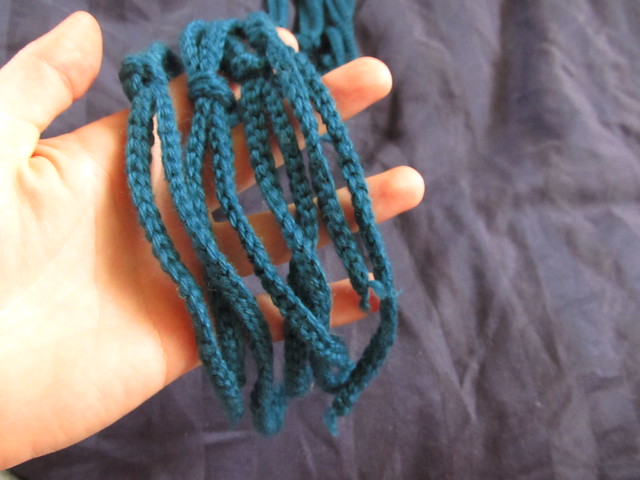
Make a big, jinormous knot out of all eight strands from your hanger and...

Put your happy plant inside of it! Mine is a medicinal aloe plant that I'm trying not to kill but we shall see. Look at you go, making plant hangers and everything!
I find your blog inspiring!
ReplyDelete