

1) Gather all of the supplies. You'll need scissors, a plastic container that fits reasonably well in your pot, a thrift store pot that I got for $3, some kind of tubing or straws a tad shorter than your pot, soil, and a plant that you wish to transplant. (I don't know what kind of plant it is but I got the start from a roommate. The original plant is very large and tropical looking so this pot might be a temporary house for this houseplant).
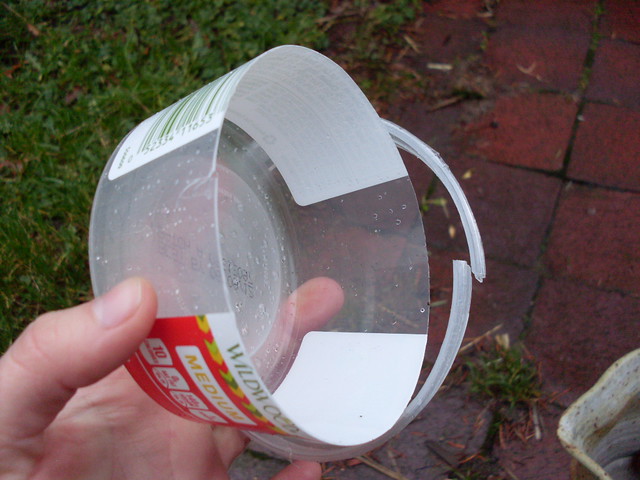
2) Cut the rim off of the plastic container. Your container should be fairly shallow because you don't want it to fill up your entire "pot". If the plastic is too big, there won't be any room for your plant.
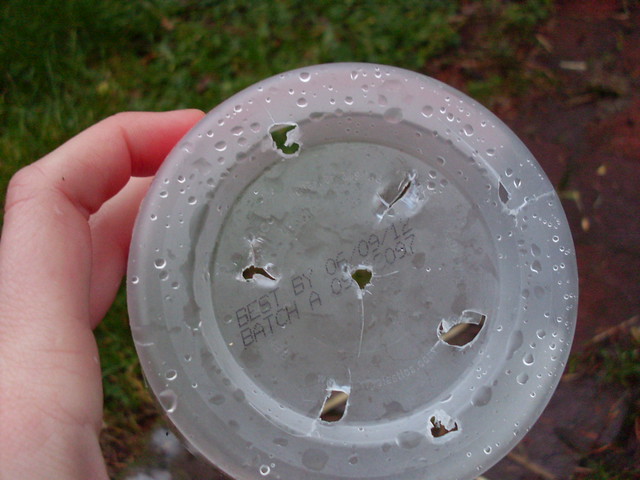
3) Punch some holes in the bottom of the container. I just used the scissors I used to cut off the rim of the container. You'll also want to make one big hole that you can fit your tubing/straws in.

I've got to share a quick little story with you while I'm on the subject of straws. First of all, I do not recommend purchasing brand new straws or tubing to make this project. That would defeat the purpose of using found materials. Come on, be creative! These straws, although they might look like normal stirring straws, are far from normal stirring straws. The particular drinking straws that I used have been sitting in my backpack for a few months while I pondered what to do with them. You see, I am a bit clumsy. Seriously, I'm a clumsy person. I had aforementioned backpack on and turned rather quickly, dumping all of these never been used plastic stirring straws onto the ground and rendering them 100% useless instead of 95% useless. Ugh... anyway, moral of the story is that you should use some kind of tube-cylinder shaped object that you find instead of something brand new.
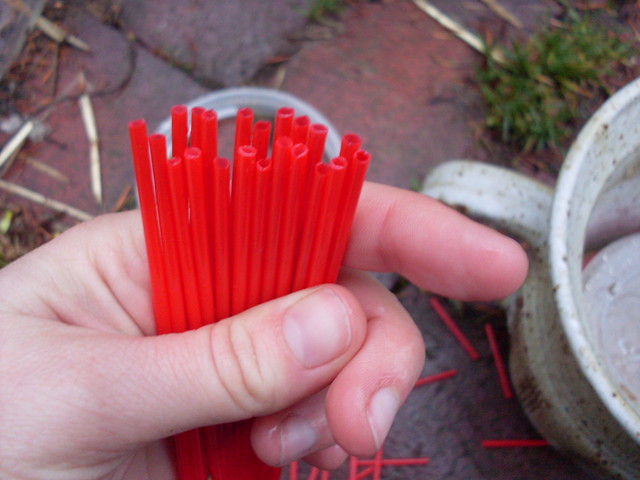
4) I had to chop my straws down a little bit. You want to make sure they don't poke out of your pot... unless you like that sort of thing. This step is more about aesthetics than usefulness.
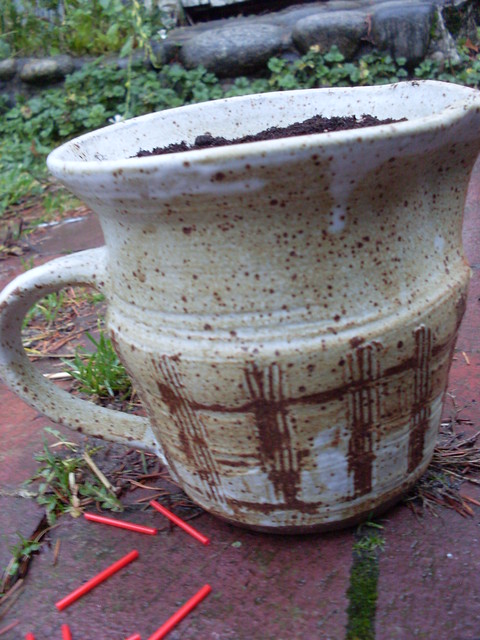
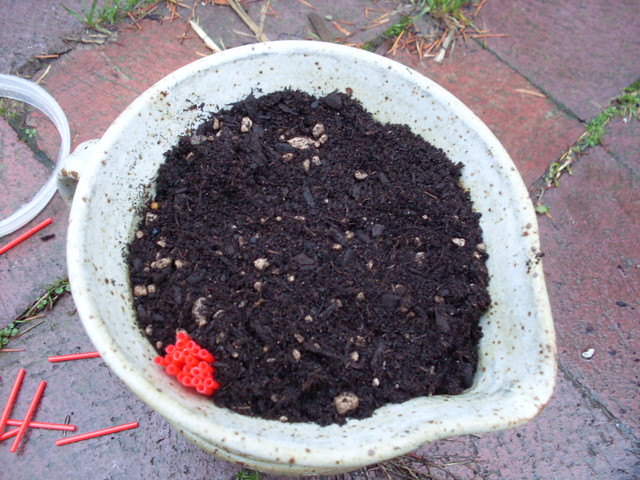
5) Place your plastic bowl with the straws into the bottom of your pot. Fill with soil until it almost reaches the top of the straws.
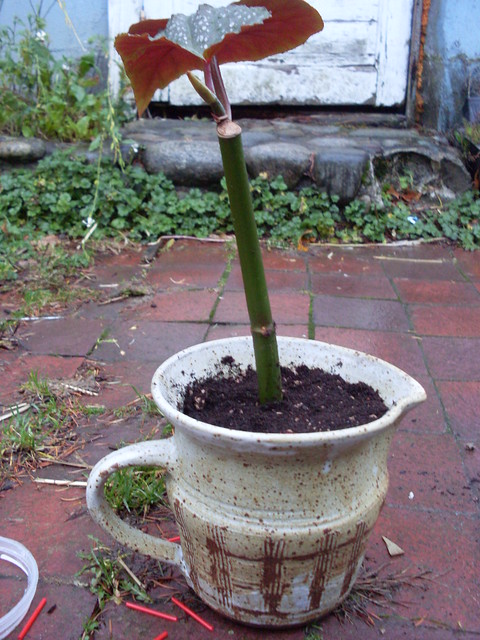
6) Finally, place your plant in the soil and pour water through the straws into the bottom of the pot. I'll keep you posted about how this plant develops. I might be switching out this cutting for a plant that requires a little less space. Good luck on your sub-irrigation system!
*Sub-irrigation is sometimes called self-watering which is a misnomer because the pot and plant do not have the ability to water themselves.
No comments:
Post a Comment
I would love to hear comments! You can leave a comment as Anonymous but I would also love to know who you are and what you think of my blog!