I have a confession to make... I'm human! I've been working on a lot of different projects, recipes and tips for the blog lately and I wanted to share with you a bit of a success story and a failure. Maybe you can relate to my story and my struggles...
Since September, I have been volunteering A LOT. As I finish up my degree, I found myself with a lot of free time and a job that was slow to become full time (training took a while). I decided that instead of staying at home with nothing to do, I would take the opportunity to do some good for my community. My first volunteering location was the local food bank.

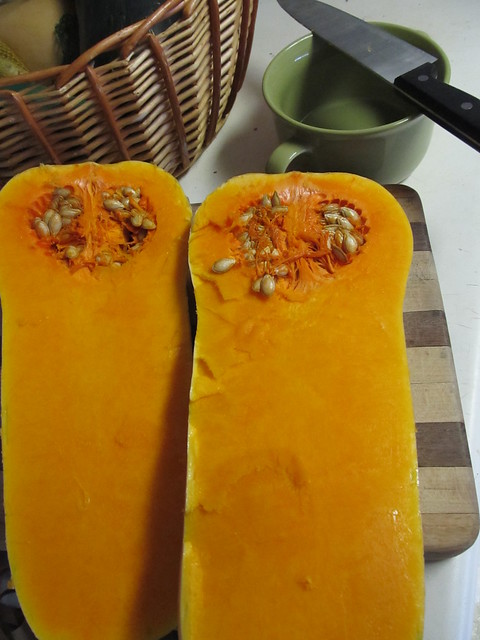
One of the great things about volunteering at a food bank is that I also get to take some of the food home that I help sort, collect and distribute. I usually take some vegetables and eggs. The fun thing about getting food from the food bank is that I get to try a bunch of veggies and fruit that I wouldn't purchase and experiment with them! With this in mind, I decided to attempt making a pizza from scratch with a squash and an onion, peppers home grown by my roommate, some cranberries I got at the farmers market, greens picked out of my garden, and some ricotta cheese that I bought at the store.
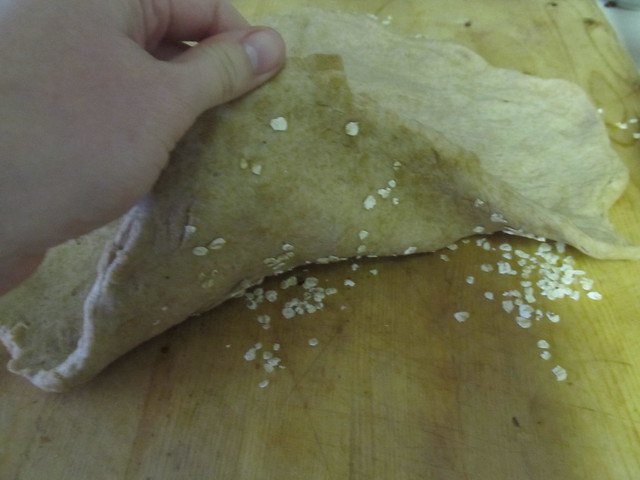
I made the best pizza crust I've ever made that rose and everything! I also used rolled oats instead of cornmeal to keep the crust from sticking to the pizza stone.
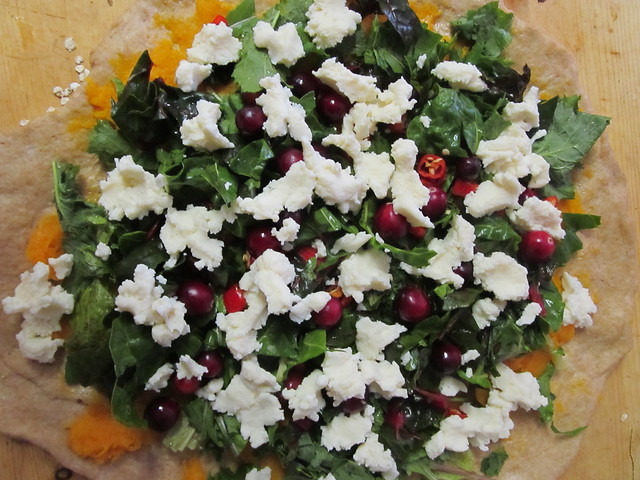
I added all my beautiful toppings to the pizza (see the squash under everything else? There are so many greens that it's hard to tell!).
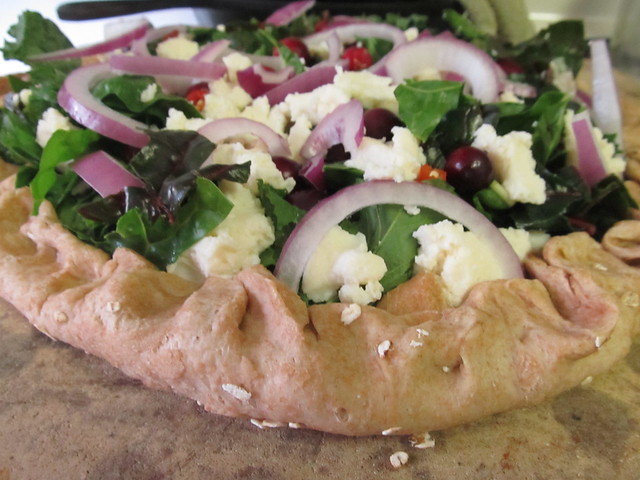
I pinched up the crust so that it even looked pizza like...
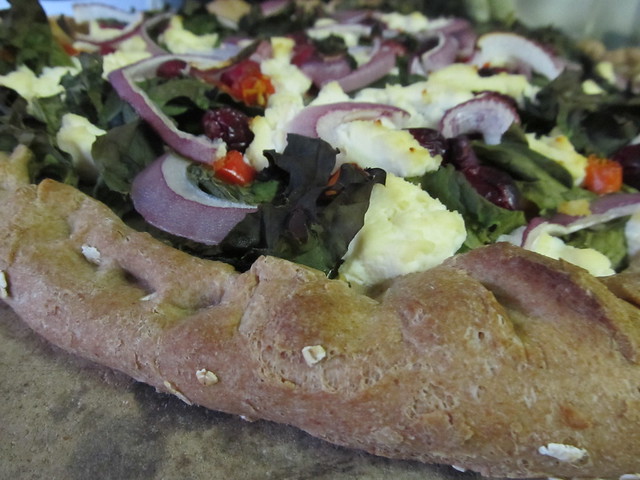
I baked it in the oven for twenty minutes on 450 degrees. It came out looking like this! I cut it up, served myself a piece and....
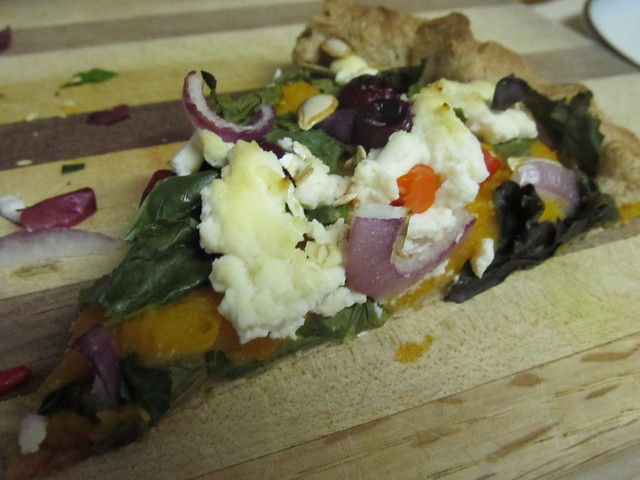
It was the most boring pizza I've ever eaten :( The only saving grace for the pizza was the crust, which was probably one of the easiest and tastiest pizza crusts I've ever eaten. Although I failed at making my first pizza, I did learn a few things in the process:
1. I don't like ricotta cheese. Or peppers that are homegrown by my roommate.
2. Cranberries are an interesting flavor on pizza and I would highly recommend it again
3. There was not enough salty cheese on this pizza!
4. Cooking with new ingredients is really fun
5. I now officially know how to make pizza crust that rises and makes a pretty tasty backdrop, as long as the toppings are also tasty. I'll keep experimenting with this one and see if I can find a good combination of veggies and cheese that is acceptable to the palette :)
Almost Whole Wheat Pizza Crust for Dummies
(Makes 2 pizzas worth of dough)
Ingredients:
3 cups whole wheat flour
1 1/2 cups white flour
1 package of active dry yeast (I believe they come in 4 oz. satchels)
4-5 tablespoons of oil (I used 4)
About 2 cups of water, should be enough to make the dough soft and elastic
1 teaspoon salt (you can add more to taste)
Recipe:
1. In a measuring cup, add two cups of warm water, slightly warmer than you can stand on your wrist, with 1 package of dry yeast. Stir together with a spoon and let it dissolve for a few minutes. Mine did not dissolve all the way but my pizza crust still worked. NOTE: If your yeast is old, the package is broken, or your water is too hot, your yeast might not activate properly and you would have to start over.
2. In a separate bowl, add flours, oil, and salt.
3. When the yeast is mostly dissolved, add it to the flour mixture. Now, here comes the fun part! Since this blog here is about sustainable practices, you can ditch that upright mixer, hand blender, or whatever electric gadget you've got your eye on and settle for using your hands. It's super fun as long as you don't have an itch or need to answer a phone call immediately. Mix together thoroughly with your hands until the dough forms a ball and pulls away easily from the sides of the bowl.
4. You can use a floured cutting board, table or other work surface but I like to knead the dough right in the bowl I was just using. It's a little bit more challenging but at least I don't have to do as much clean up. Anyway, knead the dough by pressing the heals of your palms into the dough and continually folding the dough onto itself for about 10-15 minutes. When the dough feels elastic and doesn't have any weird clumps that aren't mixed in, it should be ready.
5. The dough needs to rise now so you can leave it in that same bowl or you can place your dough into a new bowl. Place a towel over the dough and let it rise for about 1 hour, or until the dough doubles in size. This is the step where it will become very obvious that your yeast did not activate. To aid in this process, and since I was baking the squash while making the pizza dough, I placed the dough bowl on top of the oven to keep it warm. Placing the dough bowl somewhere warm will help aid the yeast.
6. Once your dough has doubled in size, punch it down a little bit to remove some of the excess air and divide the ball in half. Feel free to freeze half of your dough or stick it in the fridge for later. Half of the dough makes one full size pizza.
7. With a rolling pin or just using your hands and gravity, slowly stretch out the dough evenly to form a disc. You might create holes in your dough; just patch them up by pinching the dough around the hole together. Once you've got a good size, place all your toppings on the dough and bake at 450 degrees for about 20 minutes and enjoy!
No comments:
Post a Comment
I would love to hear comments! You can leave a comment as Anonymous but I would also love to know who you are and what you think of my blog!